
DIY Guide to Installing Sliding Door Systems for Wardrobes


Sliding door systems for wardrobes have become increasingly popular due to their sleek design and space-saving features. Whether you're renovating your bedroom or upgrading your closet, installing sliding doors can enhance both functionality and aesthetics. This DIY guide will walk you through the process of installing sliding door systems for your wardrobes with ease.
Gathering the Necessary Tools and Materials
Before you begin the installation, ensure you have all the necessary tools and materials. You'll need a tape measure, drill, screwdriver, level, and a saw. For materials, make sure you have the sliding door kit, screws, and the doors themselves. Having everything ready will make the process smoother and more efficient.
Consider investing in high-quality sliding door hardware, as it can significantly affect the durability and performance of the doors. Opt for materials that match the style and color of your room for a cohesive look.
Measuring and Preparing the Space
Accurate measurements are crucial for a successful installation. Measure the width and height of the wardrobe opening to ensure the doors fit perfectly. Take multiple measurements at different points to account for any irregularities in the space.

Once you have the measurements, prepare the area by clearing any obstacles and ensuring the surface is clean. This will help prevent any issues during installation and ensure the doors slide smoothly.
Installing the Top and Bottom Tracks
The next step is to install the top and bottom tracks, which are essential for the sliding mechanism. Begin by attaching the top track, ensuring it is level and securely fastened. Use a level to verify that the track is straight, as any misalignment can affect the door's operation.
After securing the top track, install the bottom track in alignment with the top. Double-check both tracks for proper alignment to ensure smooth sliding action.

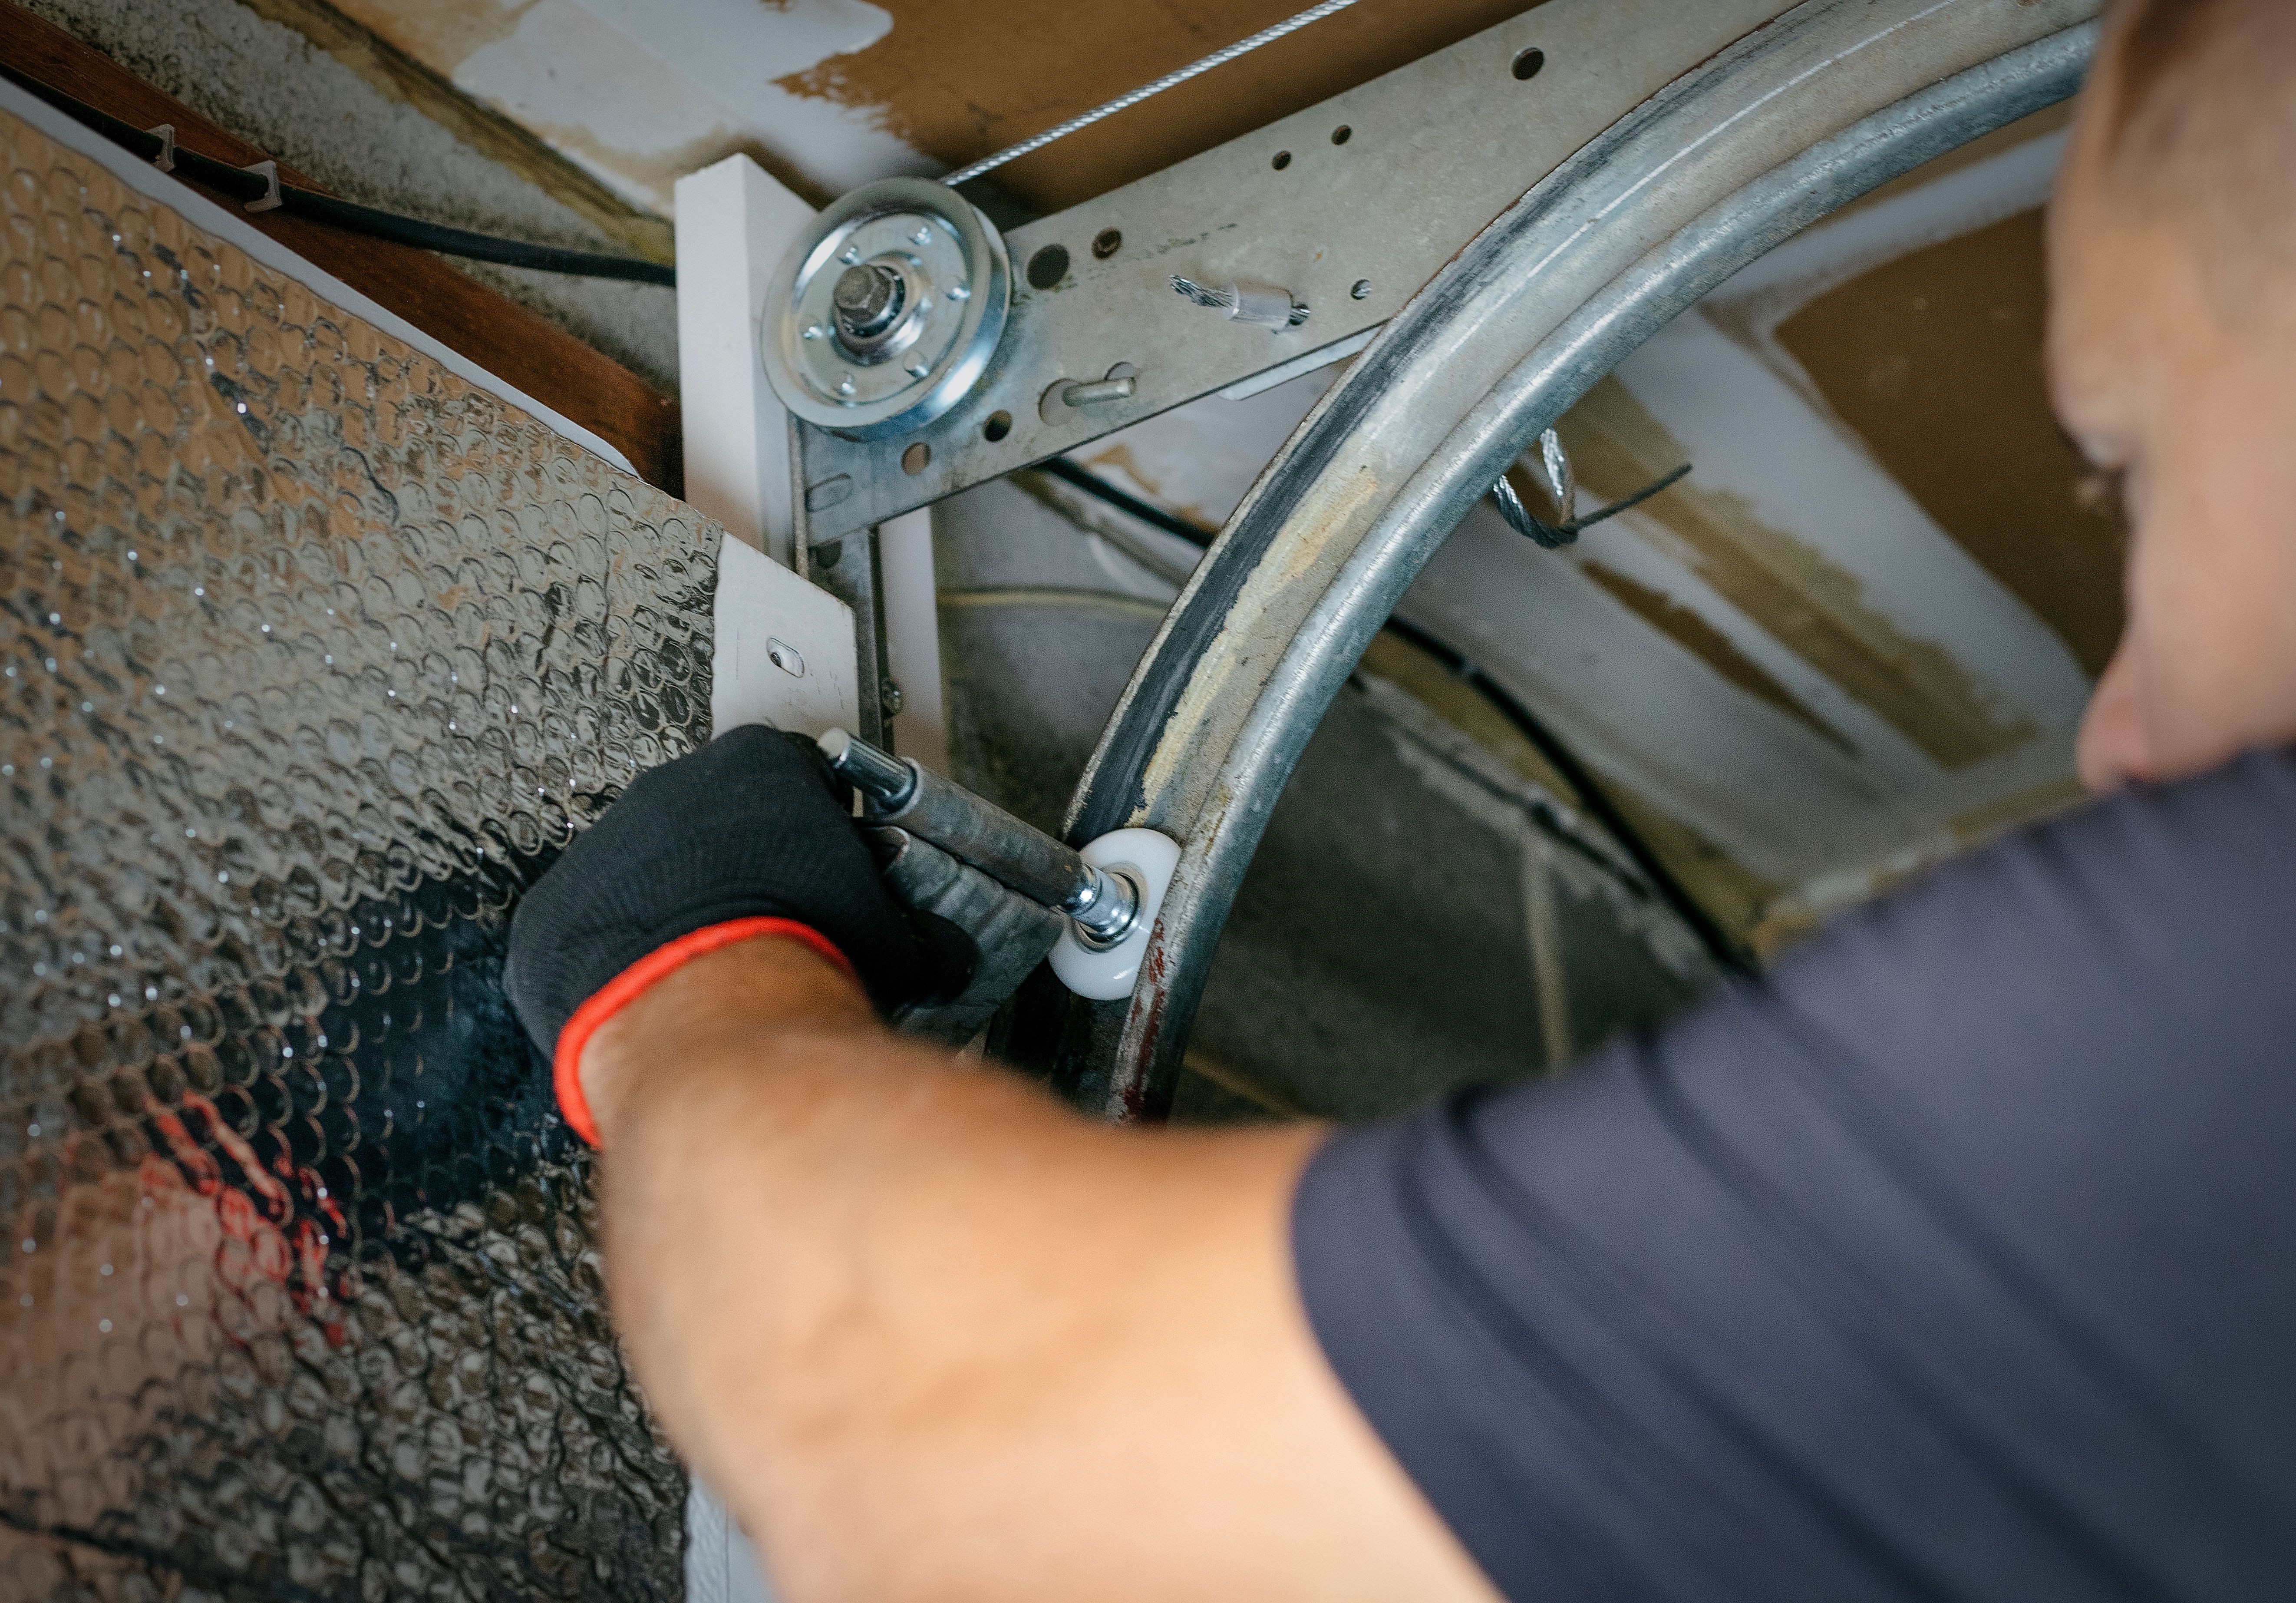
Hanging the Sliding Doors
With the tracks in place, it's time to hang the sliding doors. Carefully lift each door and insert the rollers into the top track. Ensure the doors are balanced and adjust the rollers as needed for a snug fit. Test the sliding action to confirm they glide effortlessly.
If there are any issues with the movement, make adjustments to the rollers or tracks until the doors slide smoothly. It's important to address any problems now to avoid future inconvenience.
Final Adjustments and Finishing Touches
Once the doors are installed and sliding correctly, check for any gaps or unevenness. Make any necessary adjustments to ensure a perfect fit. Tighten all screws and fittings for added stability.
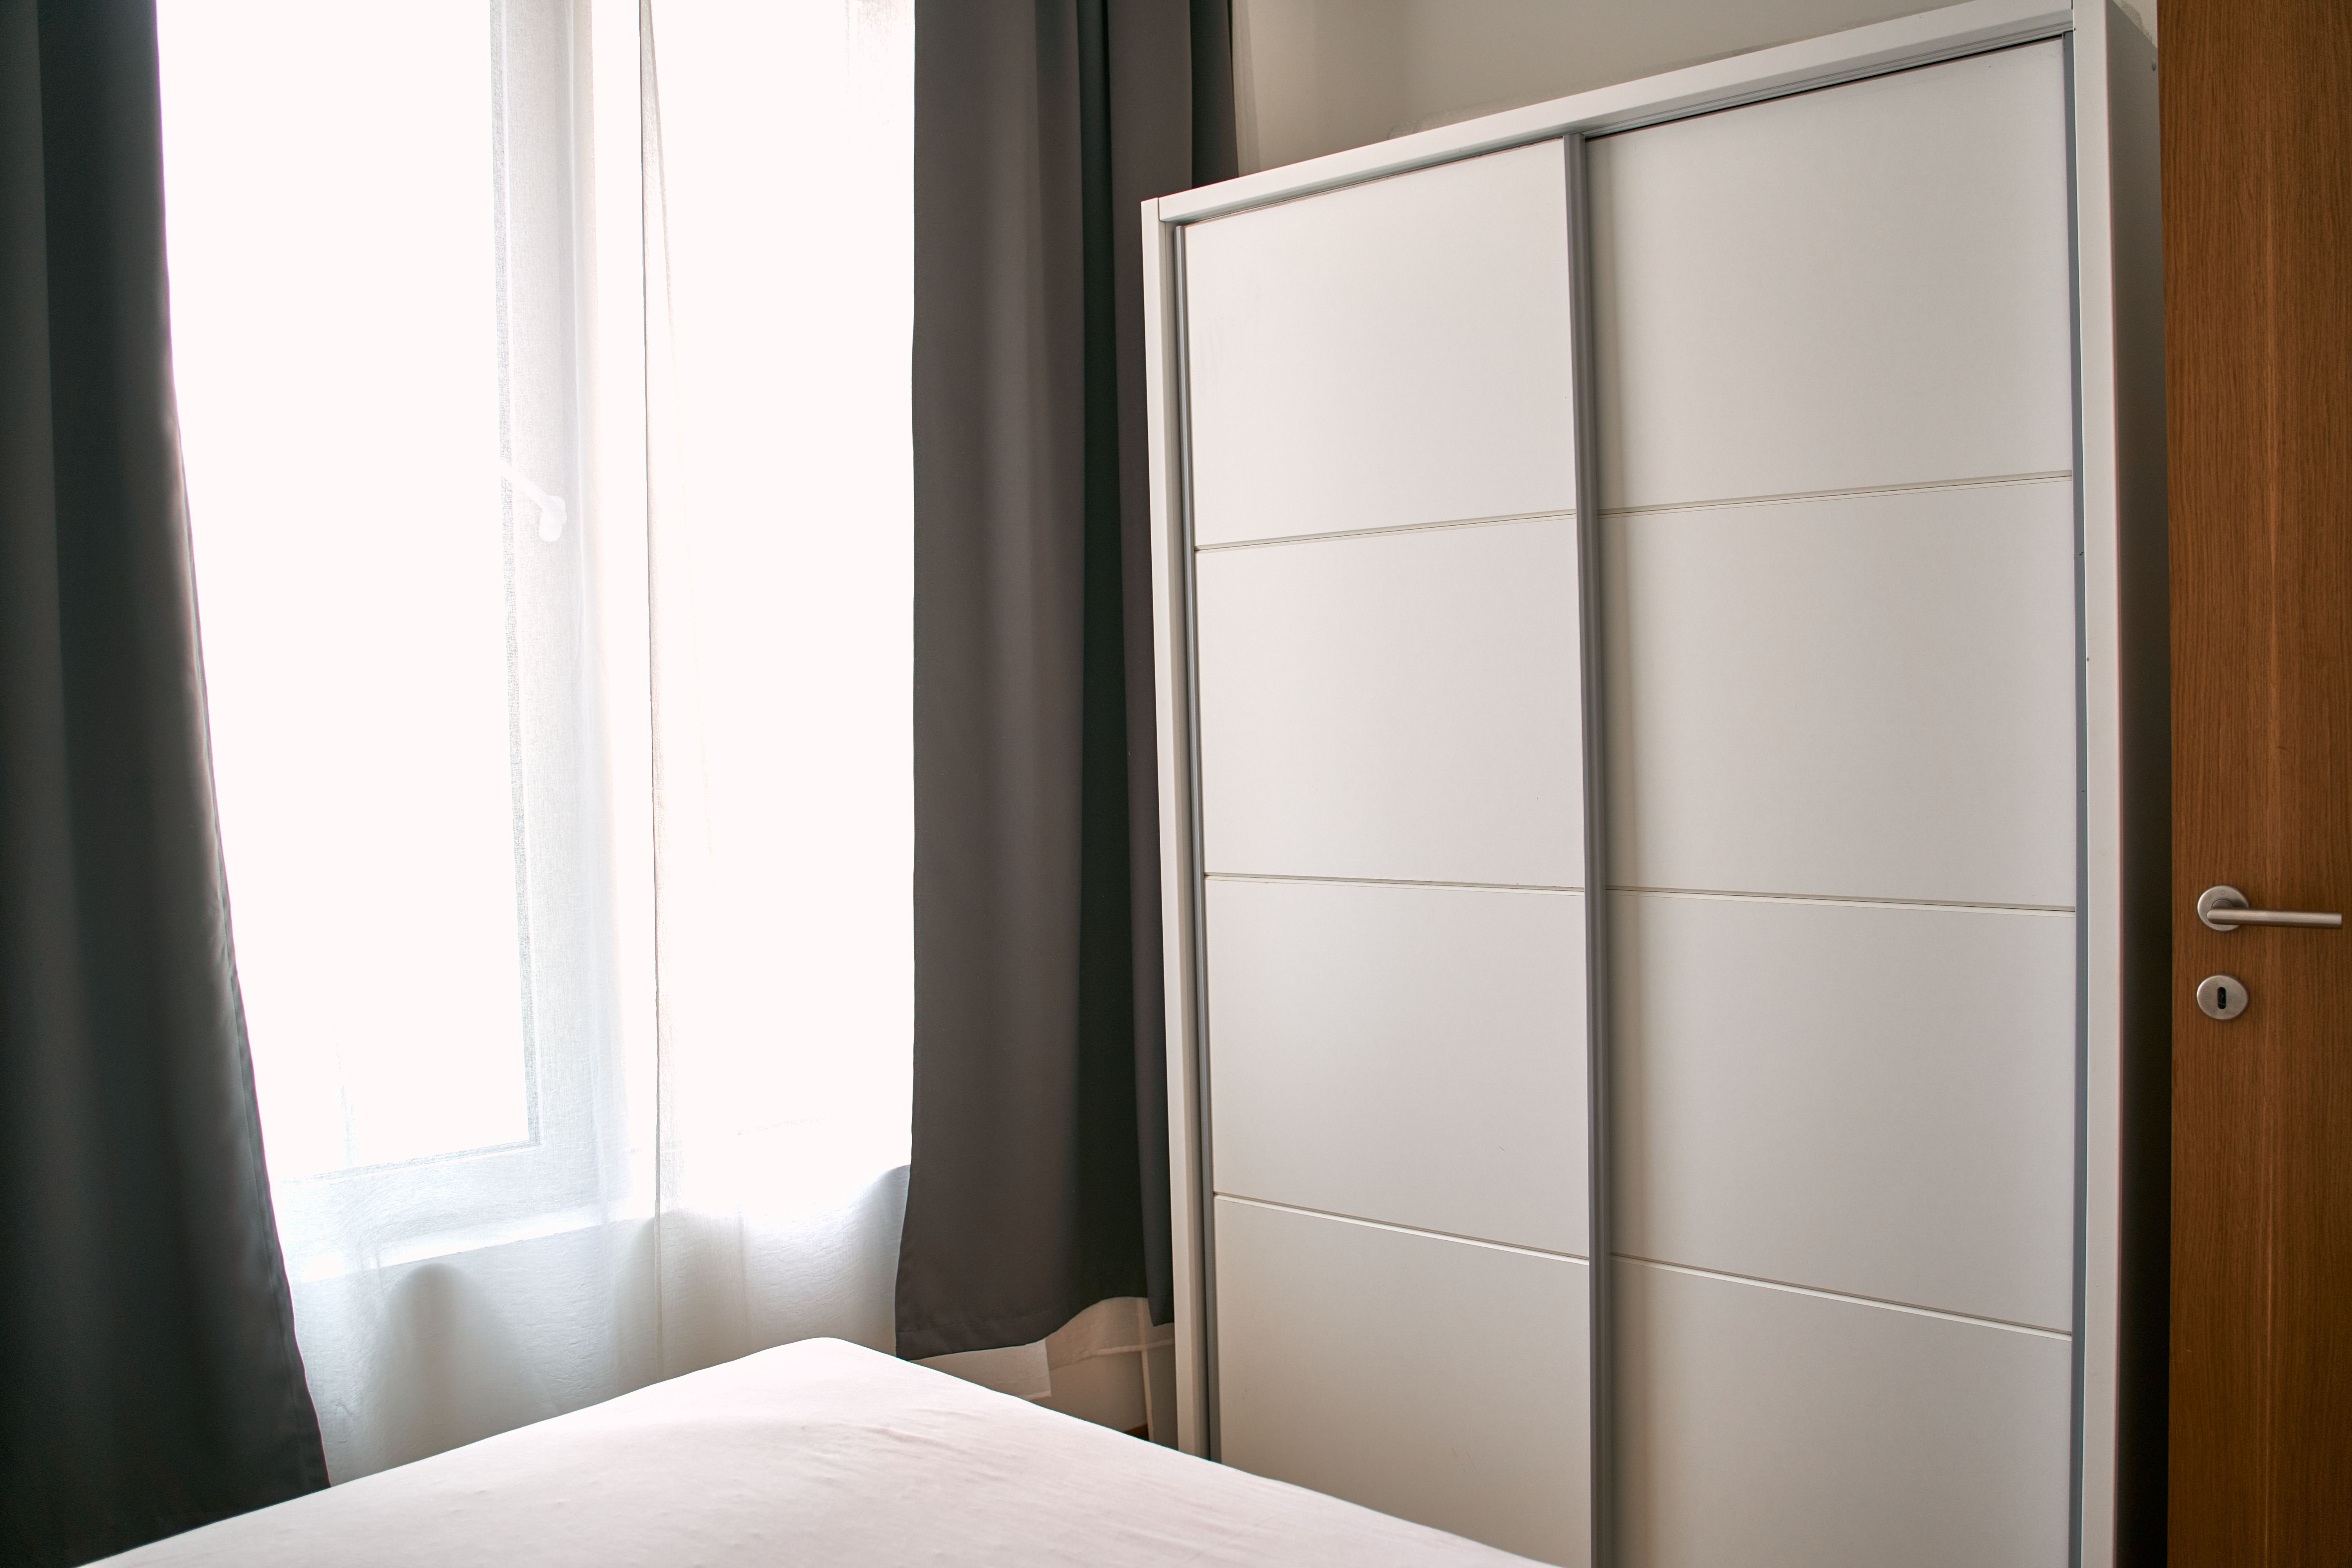
Finally, add any finishing touches, such as door handles or decorative elements, to enhance the overall look. Stand back and admire your handiwork, knowing you've successfully completed a DIY project that enhances your living space.
By following this guide, you can confidently install sliding door systems for your wardrobes, adding both style and functionality to your home. Enjoy the sleek, modern look and the extra space you've created!