
DIY Guide: Installing Your Own Sliding Door Wardrobe System


Introduction to DIY Sliding Door Wardrobe Systems
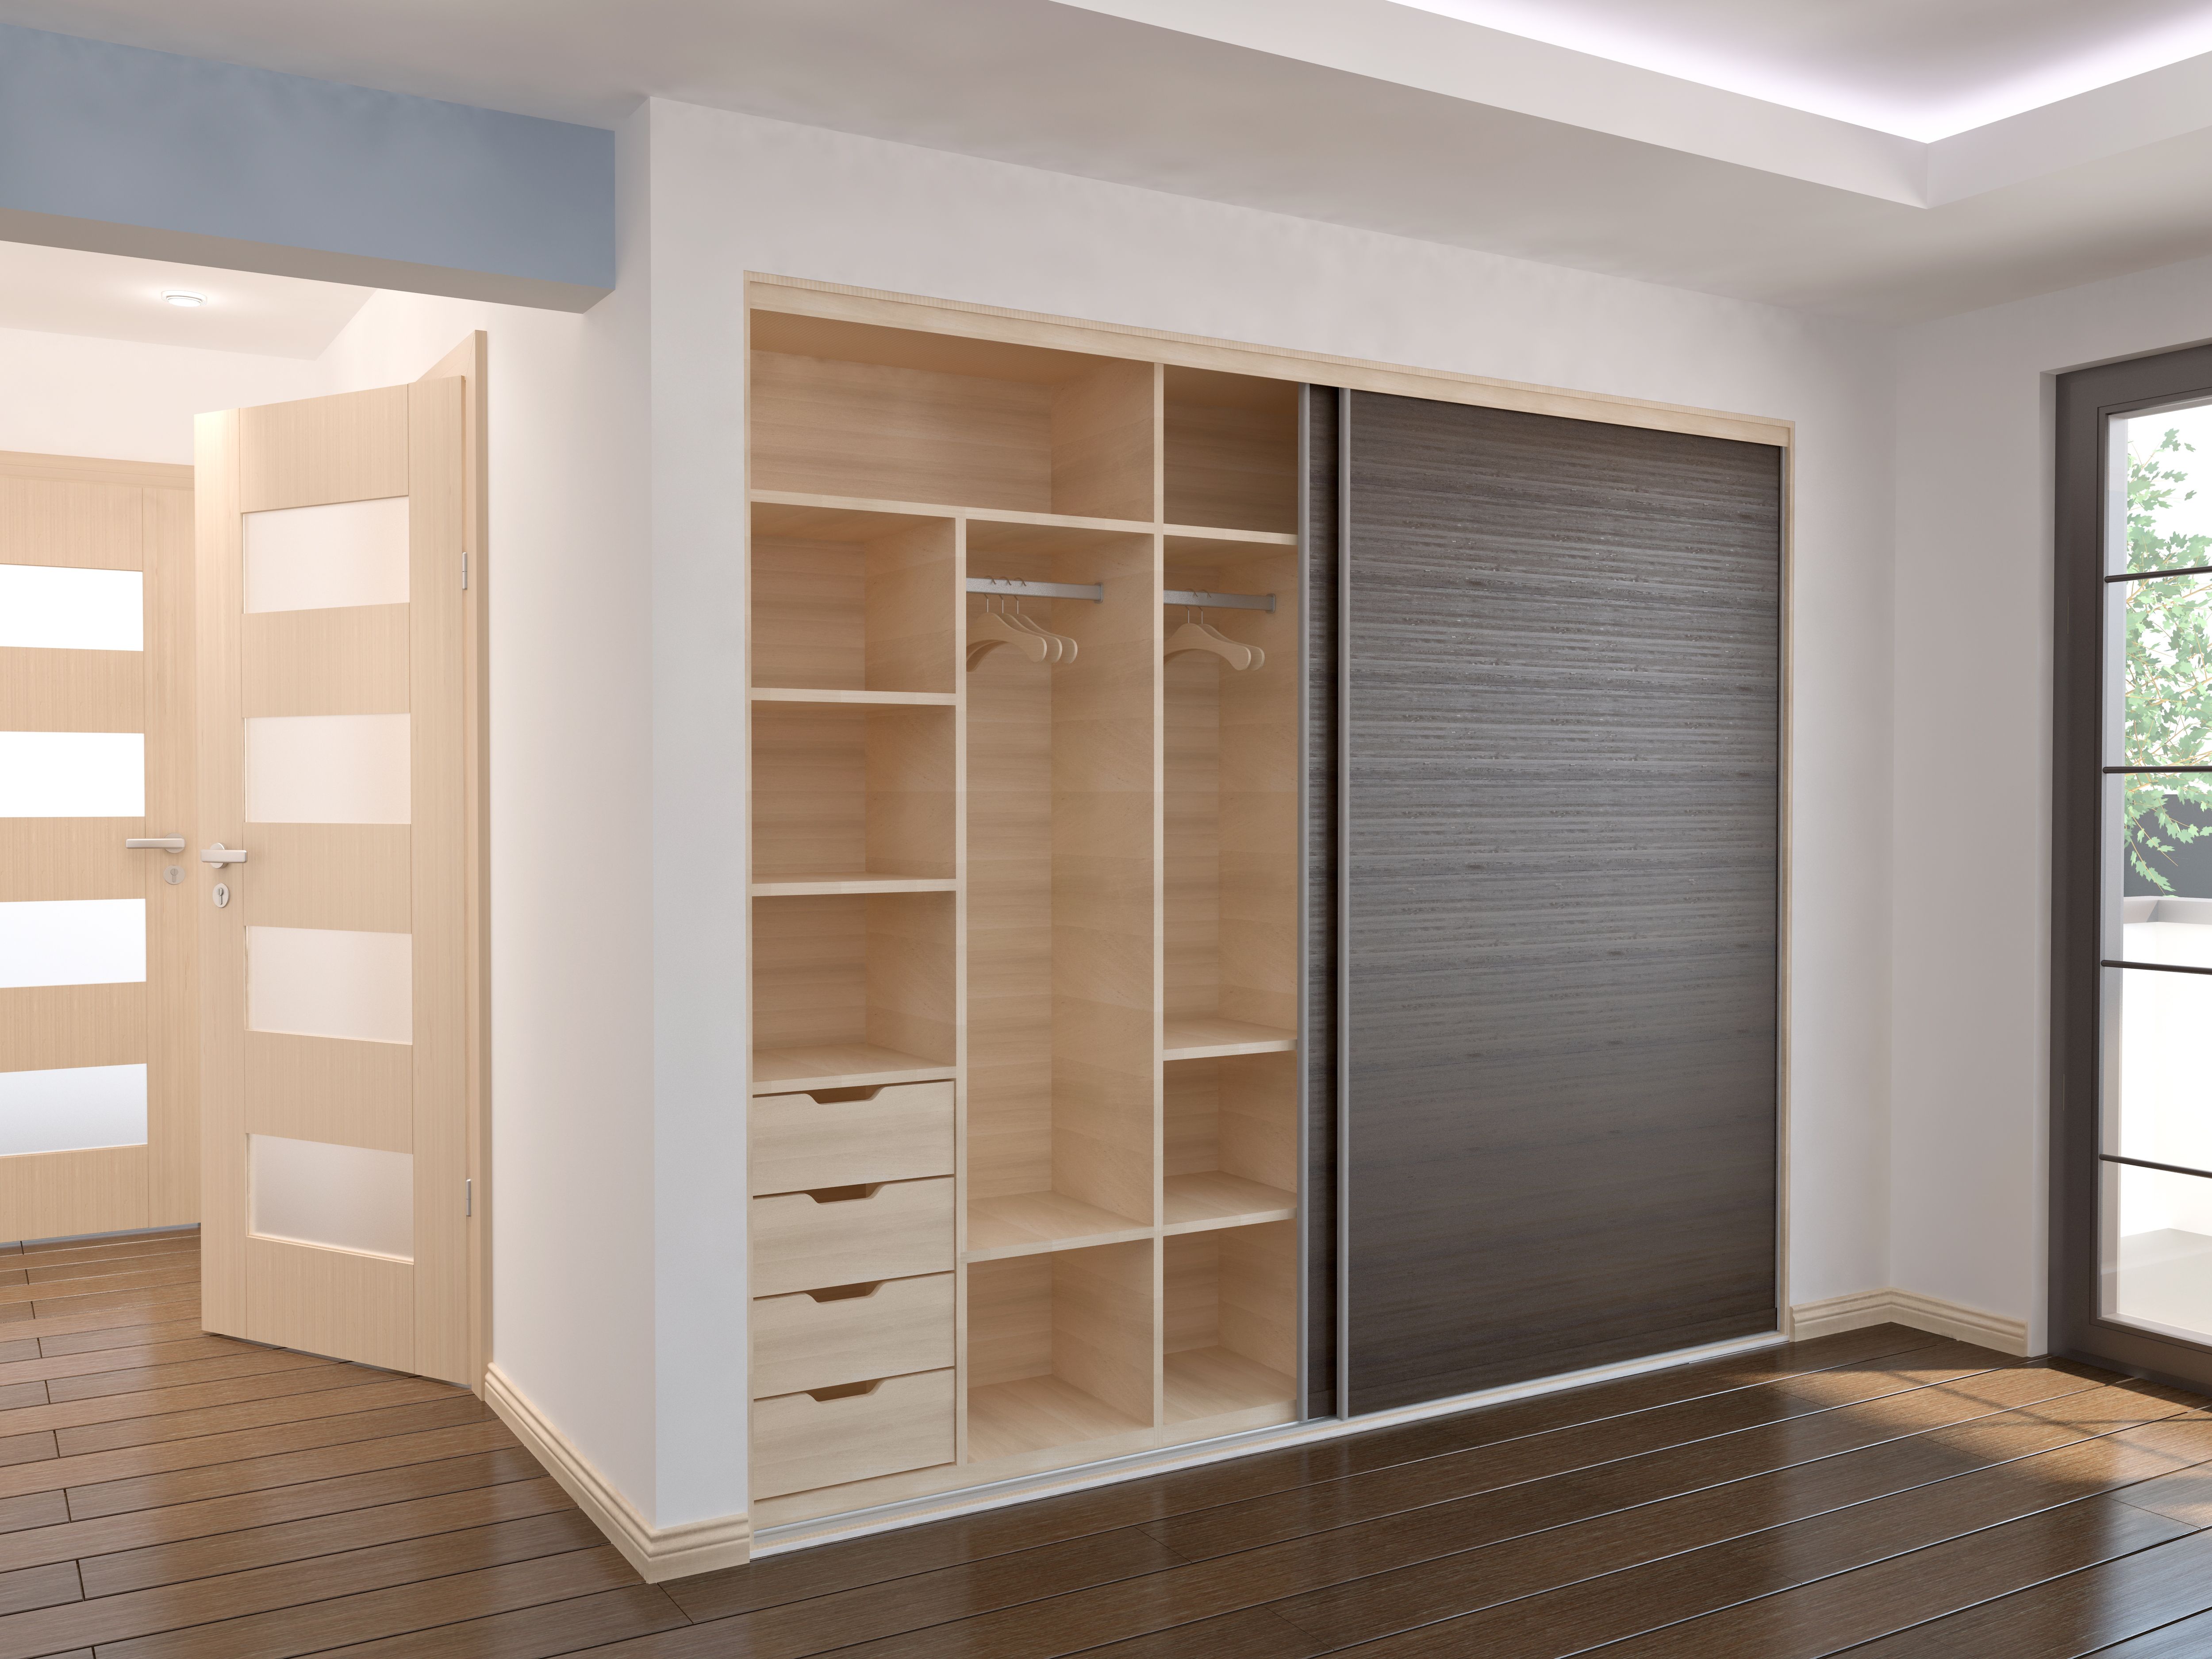
Transforming your space with a sliding door wardrobe system is a fantastic way to improve both functionality and aesthetics. Installing your own system can be an enjoyable project that enhances the storage capacity of your room while giving it a sleek, modern look. This guide will walk you through the process step by step, ensuring a smooth and successful installation.
Gathering Your Materials and Tools
Before diving into the installation, it's important to gather all the necessary materials and tools. You'll need the sliding door kit, which typically includes the doors, tracks, and hardware. Additionally, you'll require tools such as a drill, screwdriver, level, tape measure, and a saw if you need to trim the door panels.
Ensuring all materials are at hand before you begin will save time and reduce frustration. It’s also a good idea to have a helper for certain steps of the installation process.
Preparing Your Space
Preparation is key to a successful installation. Start by clearing out the area where your sliding door wardrobe will be installed. Ensure that the floor is level; this is crucial for smooth operation of the doors. If necessary, adjust the floor or use shims to create an even surface.

Measure the width and height of the opening where the wardrobe will be installed. Compare these measurements with your sliding door kit to ensure compatibility. Make any necessary adjustments to your space before proceeding.
Installing the Top Track
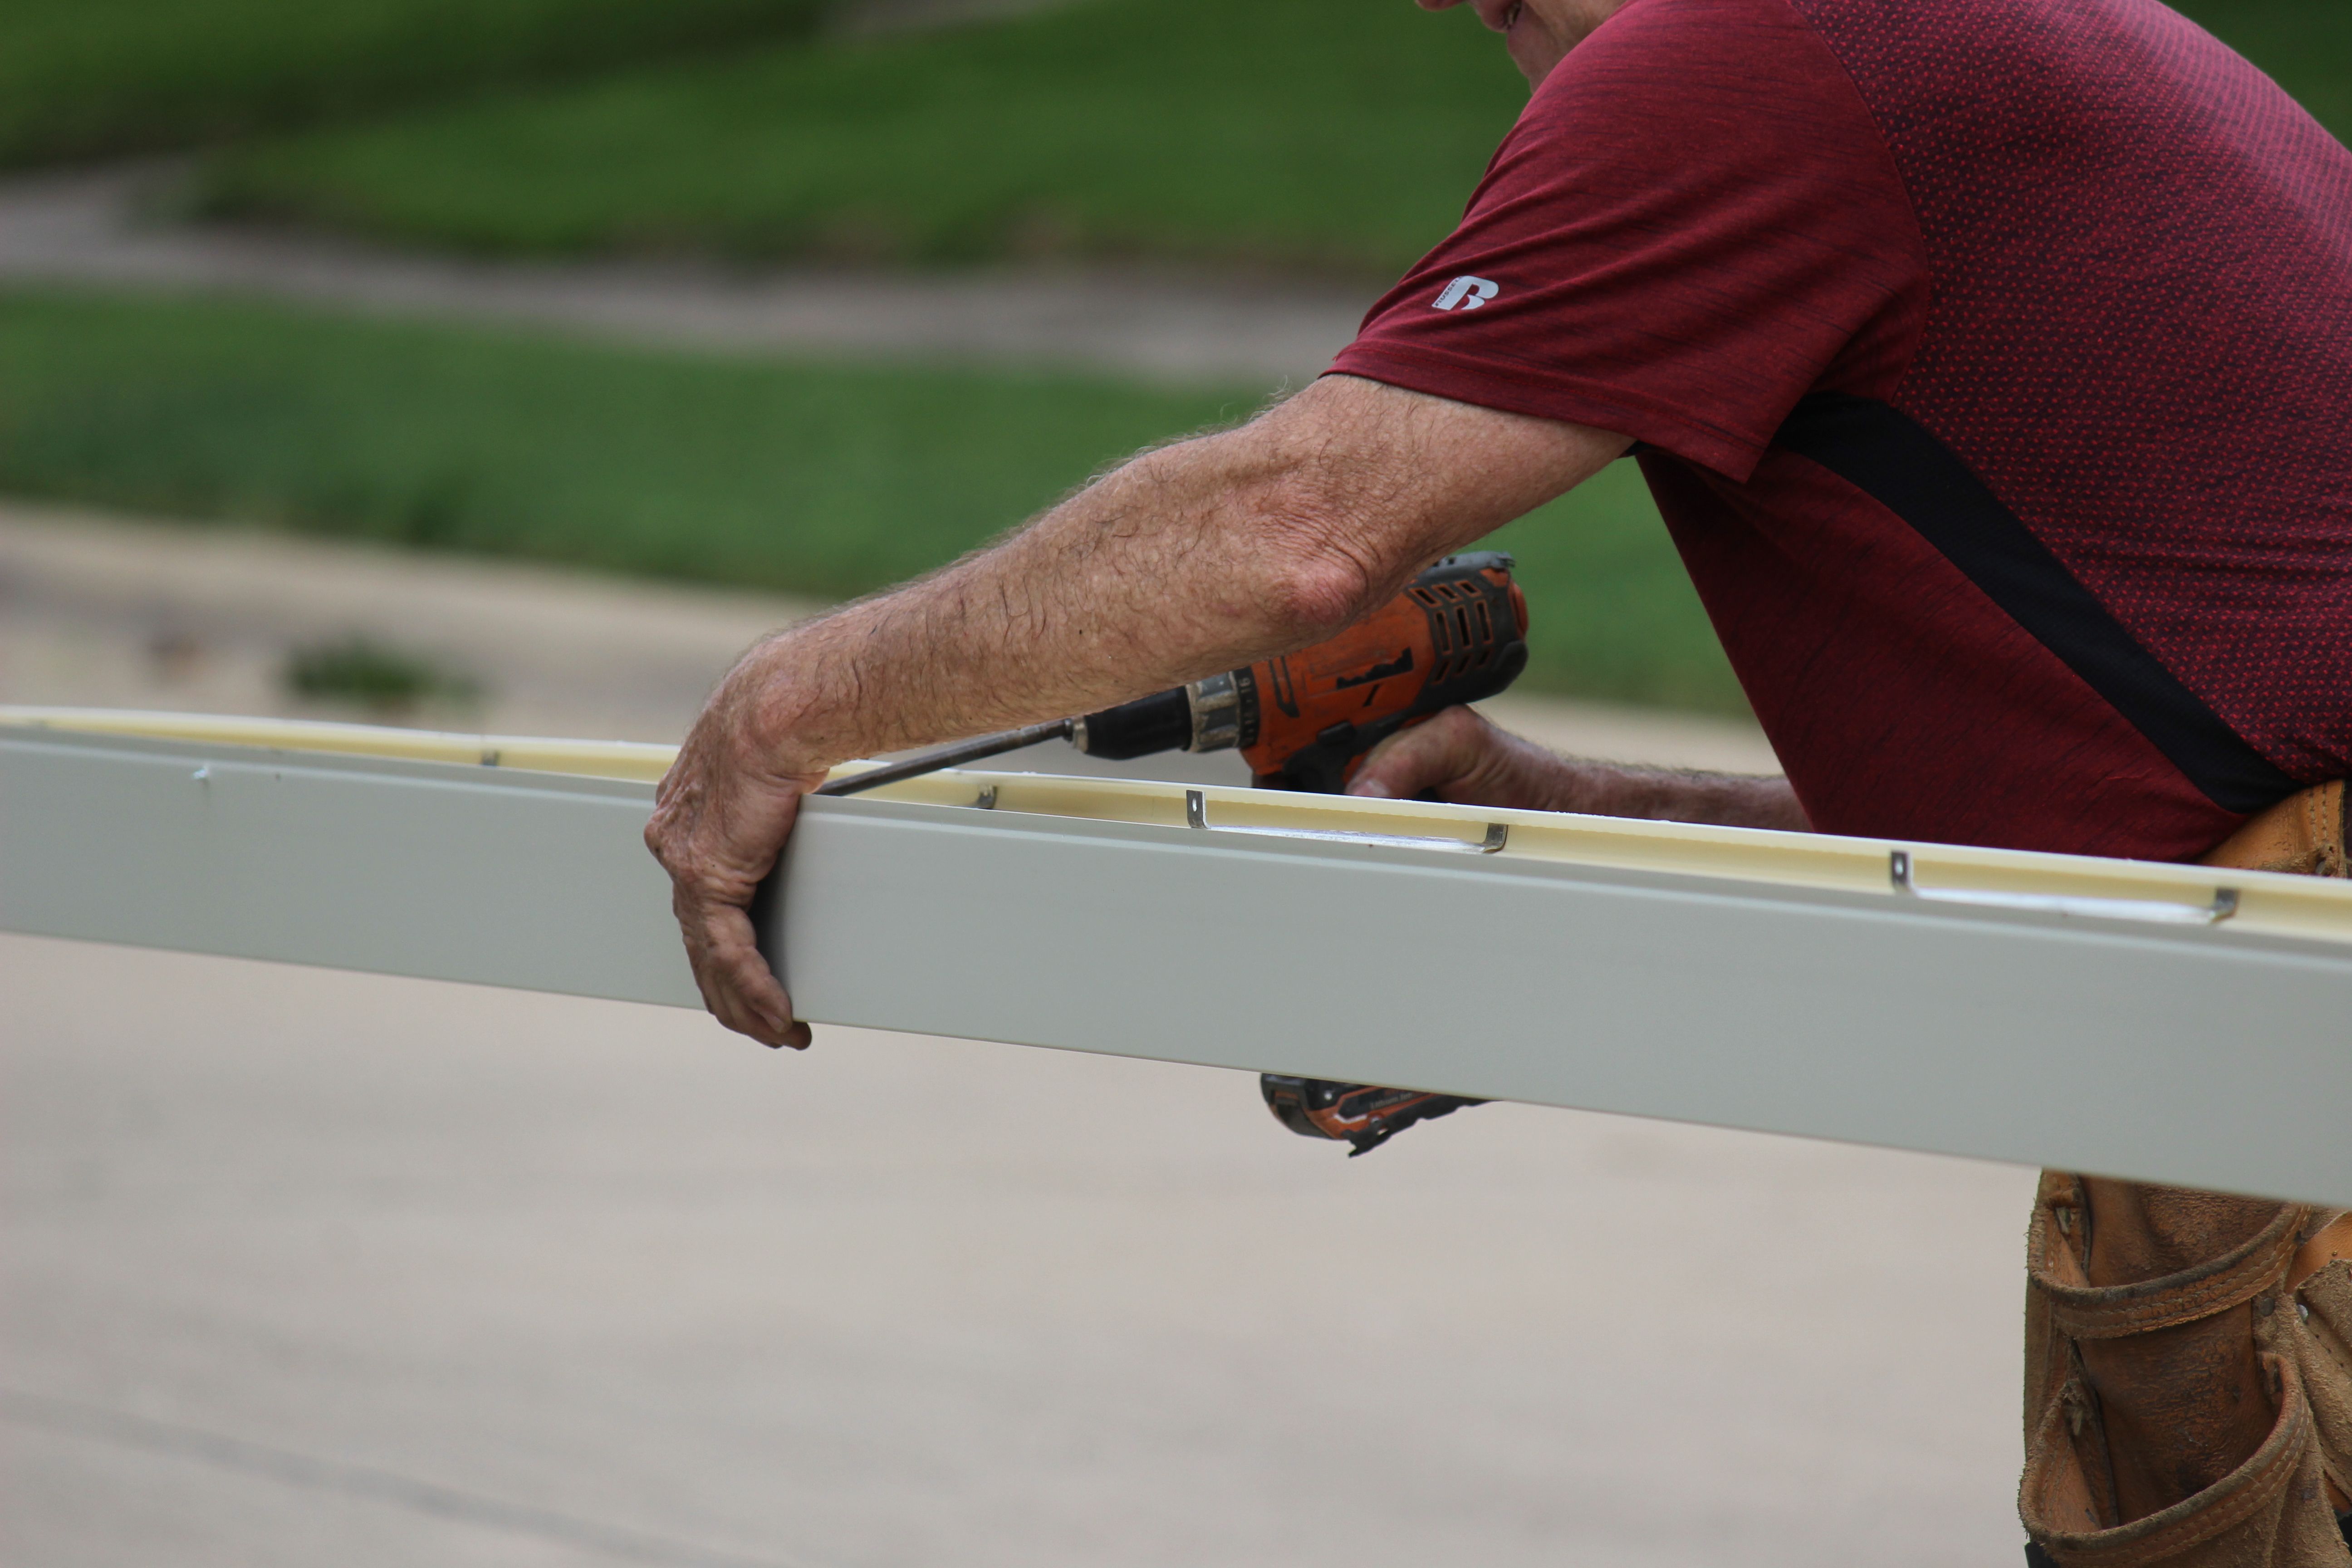
The top track is one of the most critical components of your sliding door system, as it guides the doors along their path. Begin by marking the position of the track on the ceiling or header above your wardrobe space. Use a level to ensure it's straight.
Securely attach the track using screws, ensuring each one is tightly fastened. This provides a sturdy foundation for your sliding doors to operate smoothly.
Fitting the Bottom Track
With the top track in place, it's time to install the bottom track. Align it directly beneath the top track, using your level to ensure it’s perfectly parallel. Attach it to the floor using screws or adhesive as recommended by your specific kit.
This ensures that your doors will glide effortlessly along their path without any obstructions or deviations.
Hanging the Doors
Now comes the exciting part—hanging the doors onto the tracks. Carefully lift each door and insert the rollers into the top track first, then position them onto the bottom track. Make any necessary adjustments to ensure they hang evenly and slide smoothly.
Check for proper alignment and make use of any adjustable hardware included in your kit to fine-tune their operation.
Final Adjustments and Finishing Touches
Once your doors are installed, it's time to make final adjustments. Ensure that each door slides effortlessly and aligns correctly when closed. Adjust any screws or hardware as needed to achieve optimal performance.

Add finishing touches such as door handles or decorative elements to personalize your wardrobe system. Stand back and admire your work—a functional and stylish addition to your space!
Conclusion
Installing a sliding door wardrobe system yourself is a rewarding project that can significantly enhance your living space. By following these steps and taking your time with each phase, you can successfully complete this DIY project with confidence. Enjoy your newly organized and aesthetically pleasing room!